Thursday, January 15, 2015

Ahi Tuna Poke Recipe

This recipe is so simple and so delicious, you have to try it!


Ingredients:
  • 1 lb fresh Ahi Tuna steaks. (Make sure you get sashimi grade tuna as it is to be eaten raw. I get mine from Sprouts)
  • 1-2 avocados
  • Soy sauce
  • Sesame oil 
  • Sesame seeds
  • Sriracha
  • Sea Salt
  • Sushi rice
  • Rice wine vinegar
I use all of these ingredients to taste.

Cut your tuna steaks into small cubes.  A sharp knife is crucial so you do not mutilate the fish.  Make sure you cut across the grain so the tuna stays in nice little chunks.
 
 Beautiful.  Since we are marinating the tuna, I use this amazing beast: Vacu Vin Marinator. The Vacu Vin significantly cuts marinating time.  A regular tupperware also works, but you have to let it sit in the fridge for a few hours.

 Begin adding your seasonings. I think I used 1/4 cup of soy and 3-4 TBS of sesame oil.  Add the Sriracha to taste (or leave it out if you don't like spicy things) and a sprinkle of sesame seeds.  I never learned to cook with actual measurements, so you can always taste as you go. Give one small grind of salt on top and place your container in the fridge.

Start cooking your sushi rice. Once it is done, allow to cool for a few minutes before folding in about 1/4 cup rice wine vinegar per 2 cups of uncooked rice.

Once finished, cube the avocado. Start with a bed of rice and combine your tuna and avocado on top.

Fast, easy, and delicious. This stuff doesn't keep in the fridge but for a few hours, but it's so good I don't think it will be a problem!

Monday, July 28, 2014

DIY Aden + Anais Burpy Bibs: The best burp cloth/bib pattern

I hear babies are messy.  My friend told me if there is something to stock up on, it's burp cloths and bibs. I give to you the Burpy Bib... a tutorial for an item that does double duty, and looks cute to boot.
Aden + Anais makes Burpy Bibs, but at $10 a piece I wanted a different option. This easy-to-make version  costs next to nothing, and can be a beautiful, custom baby gift.

DIY Aden + Anais Burpy Bibs | House of Hibbs

Start by printing off the pattern from The Piper's Girl. She has a great one for free!

Here is what you will need for this project:
  • 1/3 yard of fabric for the front. (I have used printed duck cloth, gauze, cotton... anything that will wash well)
  • 1/3 yard of fabric for the back. (Use any soft, easily washed fabric. I like to use flannel.)
  • 1 Snap
  • Pattern
  • Sewing Machine
Lay out and iron your fabrics. There is nothing worse than a giant crease when you are trying to sew.

Pin the pattern onto each piece of fabric and cut. I'm going to apologize for the lovely photography in this tutorial series.  3 days away from my due date, and I couldn't care less about the lighting.

Lay your patterned fabric wrong-side up on top of your second layer and pin in place.  Sew around the edge with a 1/4 inch seam, but be sure to leave about 1.5" so we can turn the fabric right-side out.

Before turning the fabric, make little notches around the bend of the sewn edge.  This will keep the fabric from puckering when we turn it.

Turn your fabric right-side out by pulling it through the little hole we left.  Give the fabric a good iron to flatten the edges.

Look at those ironed edges!

Sew around the outside with a 1/4" seam.  This terrible picture shows a lovely zig-zag stitch that I used. Why not make it fun when I am cleaning up baby mess at 3 in the morning!
Add the snap where the pattern indicates.  There isn't a picture for this, but it is pretty self explanatory.

All done! Each one of these took me about 30 minutes.  Nothing flashy or fancy and surely not a perfect sewing job, but they get the job done!


As burp cloths, they have a nice contour around your neck so they stay put. As bibs, they wrap all the way around baby to keep those cute little outfits clean of food and spit up.  Hooray for dual purpose!

Monday, June 16, 2014

Brownie Bomb Recipe

You can just go ahead and thank me now. This recipe is out of this world!
Brownie bombs have been my go-to party contribution for the past while.  What's not to love... cookie dough, brownie, chocolate...everything about these little guys is amazing.  So here is what you need:

Ingredients:
  • ¾ cup softened butter
  • ¾ cup brown sugar
  • ¼ cup white sugar
  • 2 Tbsp milk
  • 1 tsp vanilla extract
  • 2 cups all-purpose flour
  • Pinch salt
  • 2 cups miniature chocolate chips, divided
  • 2 boxes fudge brownie mix, baked and cooled
  • 1 package chocolate almond bark
For the purpose of the tutorial, I did a half batch of this recipe, which yielded about 16 brownie bombs.

Make the brownies per the recipe on the box. They need to be totally cooled before we can wrap the cookie dough, so I normally do this an hour or so before.

Now we need to make the dough. Cream the softened butter with the sugars until light and fluffy. Stir in the milk and vanilla extract.  I always add an extra teaspoon or two of vanilla because I love the way it adds to the dough.  Combine your salt and flour together, and slowly mix it into your dough.  You may need more or less flour to get the right texture.  It should be firm and together, but still a little on the wet side.  Gently stir in 1.5 cups of the mini chocolate chips. We will need the last half cup for the last step.

This dough is made without egg, so it is safe to eat at any point. I have made just the dough before and used it as a "dip" with graham crackers. I highly suggest this as well.

 Roll your cookie dough into balls about 1 inch in diameter.  Throw them in the freezer for about an hour until they get nice and firm... the colder they are, the easier the next step will be.

 Cut the brownies into squares about 1.5-2''.  It's hard to see in the picture, but I always cut away the hard edges since they are hard to wrap around the balls.  Flatten the brownie with your hand so it is nice and flat.

Put one of the frozen cookie dough balls in the middle of the smushed brownie.  Wrap the brownie around the dough ball until it is mostly covered.  It doesn't need to be perfect since we will be covering it in chocolate!

Once all of the frozen cookie dough balls are covered in brownie, throw them back in the freezer.  Again, freeze the bombs for at least an hour.

Prepare the chocolate almond bark per the package directions.  I usually use a double boiler, but a microwave works just fine.  Be careful not to scorch your chocolate, or you will have lumpy brownie bombs.

After you dip the bomb in chocolate, lightly sprinkle the tops with mini chocolate chips.

There you go!  Like I said... these brownie bombs are amazing. Store them in a sealed container in the fridge, and they will last for about a week. I prefer them to sit on the counter about half an hour before serving so the cookie dough gets nice and soft.

I hope you enjoy them!

Thursday, June 12, 2014

Weekly Cleaning Schedule

I love having a weekly cleaning schedule. I feel like it keeps me from having to binge clean by accomplishing little tasks each day. Here is what my weekly cleaning schedule looks like:
Each day has a simple task to complete:

Sunday - Meal Plan - I read through ads and look at coupons to plan our meals. I have gotten really efficient at this, and typically can get a month's worth of planning done in one Sunday.  All that means is that for the most part, my Sundays are spent not doing chores.
Monday - Kitchen/Bedrooms - This is the day I do a deep clean on the kitchen... things like cleaning the microwave and dishwasher, wiping cabinets, bleaching counters, etc. In the bedrooms, I make sure that everything is picked up.
Tuesday - Laundry/Dust - I do all of my laundry in one day. I know some people that do weekly cleaning schedules spread it out so they are only doing a load each day.  It's just personal preference. For dusting, I make sure all of the main surfaces are dusted. Things like the fan and blinds get done monthly.
Wednesday - Windows/Shopping - The windows get a quick wipe down each week, but the outside windows are done monthly.  I try and always do my shopping on Wednesdays. These are double ad days at Sprouts, so it helps keep the cost down.
Thursday - Bathrooms - Pretty self-explanatory. I only have 2 bathrooms, so this cleaning always goes quickly.
Friday - Floors - Each week I vacuum and spot clean the floors. Every other week I bust out the mop after I vacuum.  
Saturday - Makeup Day - Makeup any day that you might have missed. 

For the most part, each daily task is done in 30 minutes or less. Of course some of this has slowed down since I've become pregnant, but staying close to this schedule makes for a pretty clean house.

I like to display my schedule in a frame. I have various magnetized frames on my fridge with things like my cleaning schedule, a weekly menu, and a monthly calendar. It's organized, doesn't take up a lot of space, and I love it.

I'll try and put together a post about my monthly cleaning tasks. Let me know what you think!

Wednesday, June 4, 2014

5 Minute DIY: Onesie Applique using the Silhouette Cameo

I have plenty of plain, boring onesies for Miles that I think needed some sprucing up. Here is a quick and easy tutorial using my favorite machine... The Silhouette Cameo.
5 Minute DIY: Onesie Applique using the Silhouette Cameo | House of Hibbs 
What I love about the Silhouette is that I can make custom shapes and use it for anything... clothes, scrapbooking, vinyls... the list is endless.

 You need the following for this project:
  • Onesie (Here I use a white Gerber 6-9 month onesie)
  • Fabric of your choosing
  • Heat and Bond
  • Silhouette
Start by measuring out your fabric and Heat and Bond. I use sheets of 9''x11'' of each. Make sure and iron your fabric before you lay the Heat and Bond! Put the Heat and Bond transfer side down on top of the fabric.

Iron according to the package instructions. With the type I chose (Permanent, non-sew Heat and Bond) I pressed firmly for 3 seconds until bonded.

In the Silhouette software, choose your shape. I picked out an outline of Texas... super easy shape to cut. I've done many projects with words and more intricate shapes, but for the purpose of today I picked a simple one. Make sure you set the size of you page (9''x11") and size your design so that it will fit on your surface. (I used a shape about 5''x5'')

I've put a picture up of my cut settings. I have found that using the Fabric setting with a Double Cut is the most efficient. If you are using a heavier fabric (like canvas) make sure and adjust accordingly.

 
Here is my wonderful workstation. Make sure you have enough room behind your Silhouette so nothing hits the cutting mat.

Here is the fabric after it has been cut. Hard to see anything, but when you carefully peel off the rest of the fabric...

 Magic! A perfectly cut little Texas.

Carefully peel the fabric away from the white backing. The fabric applique will have a little sticky texture on the back. This is the side that will go down on the onesie.

Place and iron as directed by the Heat and Bond instructions. (8 seconds for me). Since I used permanent Heat and Bond the onesie can be run through the washing machine with no damage to the applique.
There we go... a 5 minute project that turns a plain onesie into something a little more interesting.

Monday, May 19, 2014

Frozen Crock-pot Meals! Grocery List and Recipes.

I decided to try out some make-ahead crock-pot meals a few months ago. They seemed to be a great way to prep for the baby. Meals I only have to think about for the two minutes it takes to pull them out of the freezer and throw them into the crock-pot? Perfect.
This is the third round of them that I have done, but the first time I have had a blog to talk about it.

The prep is pretty simple. Grocery store, lots of cutting and chopping, throw it in a bag. So here are the recipes. There are 8 different recipes total (each meal making about 4 servings) and I doubled up on everything but the Chicken Divan. I spent around $75 on groceries, making each meal $5. (That is $1.25 per serving!) I only prepped one meals worth of the Chicken Divan since it is a new recipe, and I want to try it out first.

Recipes

I cook all of the recipes on low temp. You can throw the meals straight from the freezer into the crock-pot... no need to thaw them. If you need to add an hour or two to the cooking time so it fits with your work schedule, you shouldn't see any issues.
(Disclosure... I put garlic in everything. I used a jar full of minced garlic and dumped a good helping in each bag. I guess my family will always be safe from vampires. With the garlic, I'll label the amount if the recipe normally calls for it.)

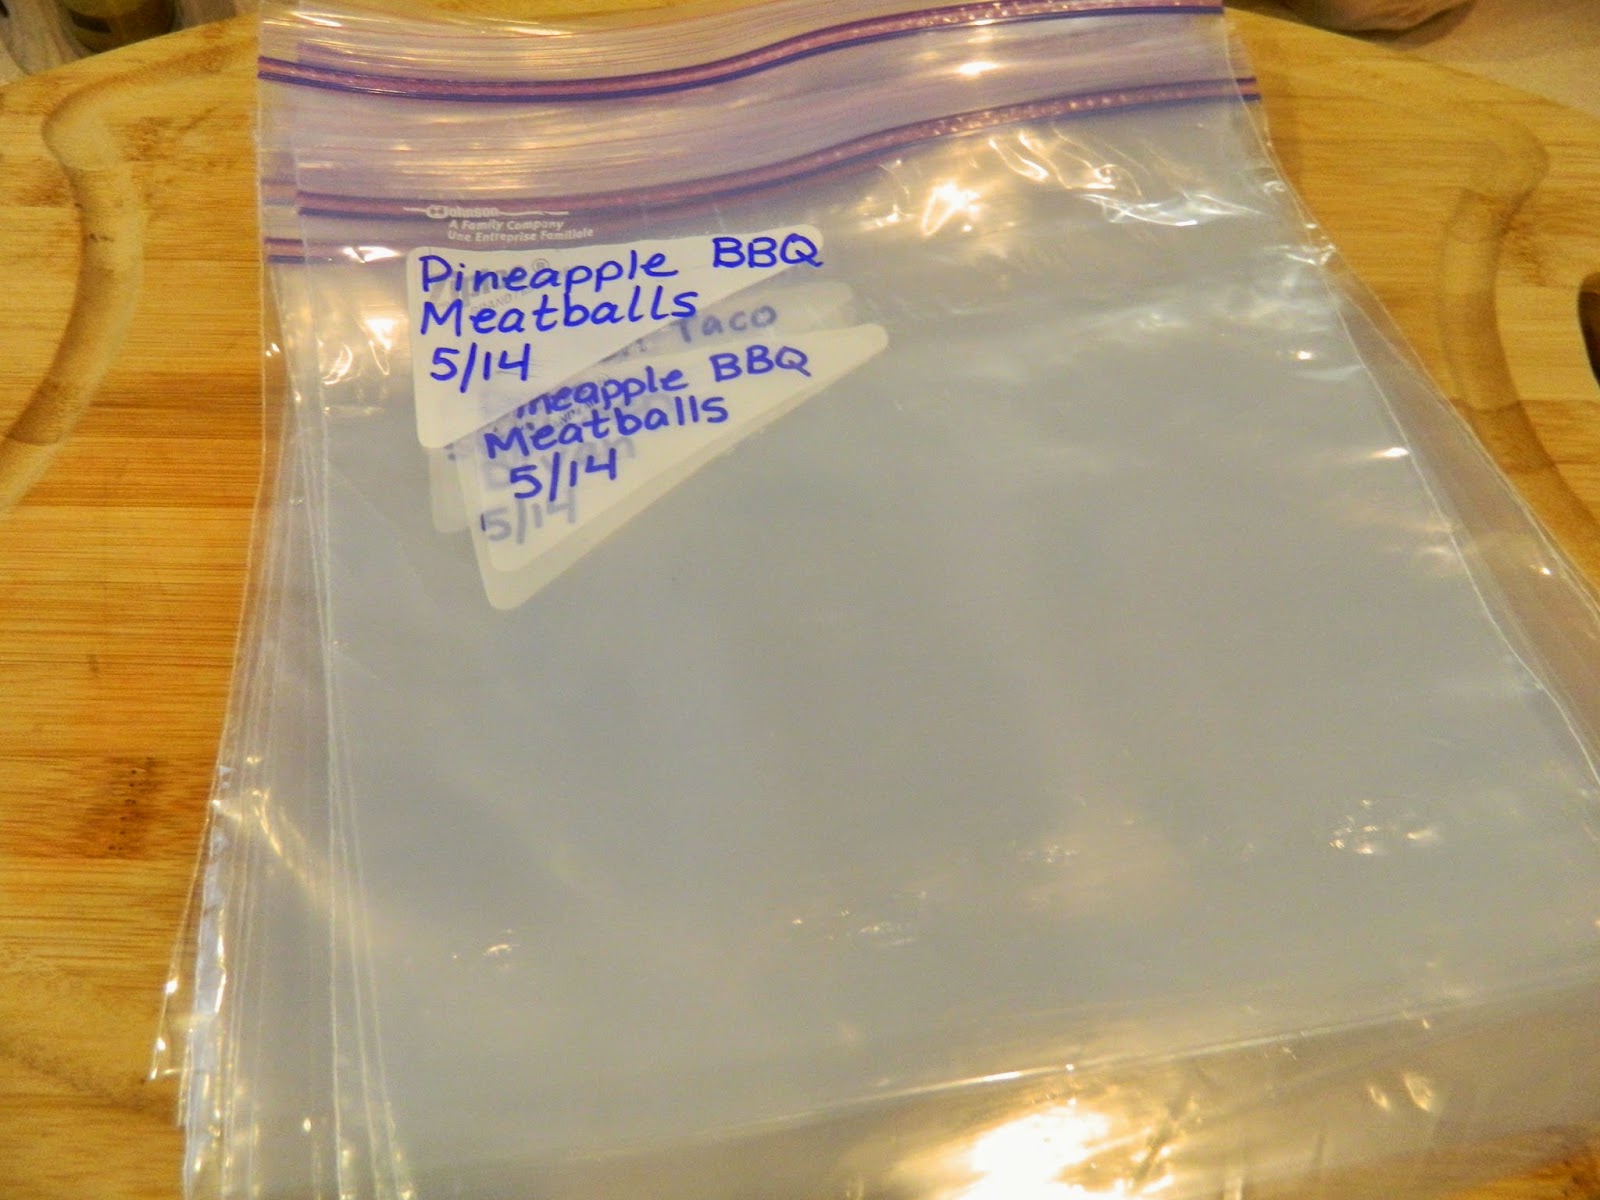
Pineapple BBQ Meatballs
16 oz frozen meatballs
1/2 cup pineapple (cubed)
1 green pepper (sliced)
1/2 cup onions (diced)
1 cup BBQ sauce (I used Sweet Baby Ray's)
Garlic

Cook time: 5-6 hours.  I serve this with brown rice.

Meatball Stroganoff
16 oz meatballs
1 cup onions (diced)
1 can cream of mushroom soup
1 cup mushrooms (sliced)
1/2 pack cream cheese*
4 oz sour cream*
Garlic

*You can add these ingredients in the last hour or two, but I see no harm in freezing them

Cook time: 5-6 hours. I like to serve this over egg noodles.

Mediterranean Pork Chops
3-4 pork chops
1/4 cup olive oil
1 cup chicken stock*
Garlic (about 2 cloves)
1 large potato
1 Tbsp paprika
1 Tbsp oregano
1 Tbsp basil
1/2 cup onions (diced)

*I add this the day I am making the recipe. 

Cook time: 6-8 hours.  I like to serve this one with couscous.

Sausage and Peppers
1 lb sausage (sliced)
2 peppers (sliced)
1 cup onions (sliced)
2 cups diced tomato
Garlic (2 cloves)
2 Tbsp onion powder

Cook time: 6-8 hours. This is great over quinoa.

Chicken Cacciatore
1.5 lbs chicken (cubed)
3 Tbsp olive oil
1 pepper (diced)
1 cup onion
1 can diced tomato
2 tomatoes (chopped)
1 cup mushrooms
1 Tbsp italian seasoning
Garlic (2 cloves)
1 can tomato paste
Italian herbs to taste

Cook time: 6-8 hours. Serve with a pasta of some sort.

Chicken Taco Soup
(This bag gets pretty full)
1.5 lbs chicken 
1 cup onion
1 can chili beans
1 can black beans (rinsed and drained)
2 cups frozen corn
1 can diced tomato
1 can rotel
1 cup chicken broth*
1 package taco seasoning
Garlic

*I add this in the day I am making the recipe. The bag is pretty full on this one, so I don't think it would fit anyways.

Cook time: 6-8 hours. Shred the chicken an hour before serving. I normally serve this with some cubed avocado and tortilla strips.

Chicken Divan
1.5 lbs chicken (cubed) 
1 bag frozen broccoli
2 cans cream of chicken soup
3/4 cup mayo
1 Tbsp lemon juice
1/2 cup grated cheddar cheese

Cook time: 6-8 hours. I haven't made this one yet, so I will probably just serve it over brown rice.

Buffalo Chicken Sliders
1.5 lbs chicken
1 cup onions
1 bottle Franks Buffalo Hot Sauce
1 packet dry ranch mix
Buns*

*This is for the day of, so it doesn't go in the bag. 

Cook time: 6-8 hours. Shred the chicken about an hour before serving and let it sit in the sauce. Serve on buns with some celery and ranch.

Grocery List


As far as a grocery list, I have made one for if you double each recipe. This will actually make 16 meals total. I hope you have room in your freezer!

- 12 pounds boneless/skinless chicken
- 2 pounds italian sausage
- 6-8 pork chops
- 2 32oz bags frozen meatballs
- 1 bag of onions (I think my bag had 6 giant onions in it)
- 2 large or 4 small packs of mushrooms
- 4 tomatoes
- 6 green peppers
- 2 large potatoes
- Minced garlic
- 2 bags frozen broccoli
- 1 bag frozen corn
- 1 small jar mayo
- 1 package cream cheese
- 1 8oz sour cream
- 1 small bag grated cheddar

- 2 cans cream of mushroom soup
- 4 cans cream of chicken soup
- 2 cans chili beans
- 2 cans black beans
- 6 cans diced tomato
- 2 cans tomato paste
- 2 can rotel
- 1 large can cubed pineapple
- 2 bottles Franks Buffalo Hot Sauce
- 2 packets ranch dry mix
- 1 bottle BBQ sauce
- 2 pack taco seasoning
- 1 pack buns (Hawaiian rolls are awesome for this recipe)

This grocery list is assuming you have the following in your pantry:
- Olive oil
- Chicken stock
- Paprika
- Oregano
- Basil
- Italian seasoning
- Lemon juice

As far as staying in the <$75 budget, I always make sure and go grocery shopping on Wednesdays. I prefer to get all of my meats and produce from Sprouts, and Wednesday is their double ad days. (Chicken was around $1.49/lb this week.) My best advice is to plan ahead and look at local ads. I don't coupon the way I should, but I do stick to the Wednesday shopping trips.

Food Prep

For food prep, I didn't take too many pictures... It's pretty self-explanatory.

Always label your bags before you fill them. I normally put the recipe name, date, and any ingredients that need to be added the day of (like chicken stock). You might want to add cooking time as well.

The whole prep for all 15 recipes took me about 2 hours. It's lots of chopping and cutting, measuring and pouring.

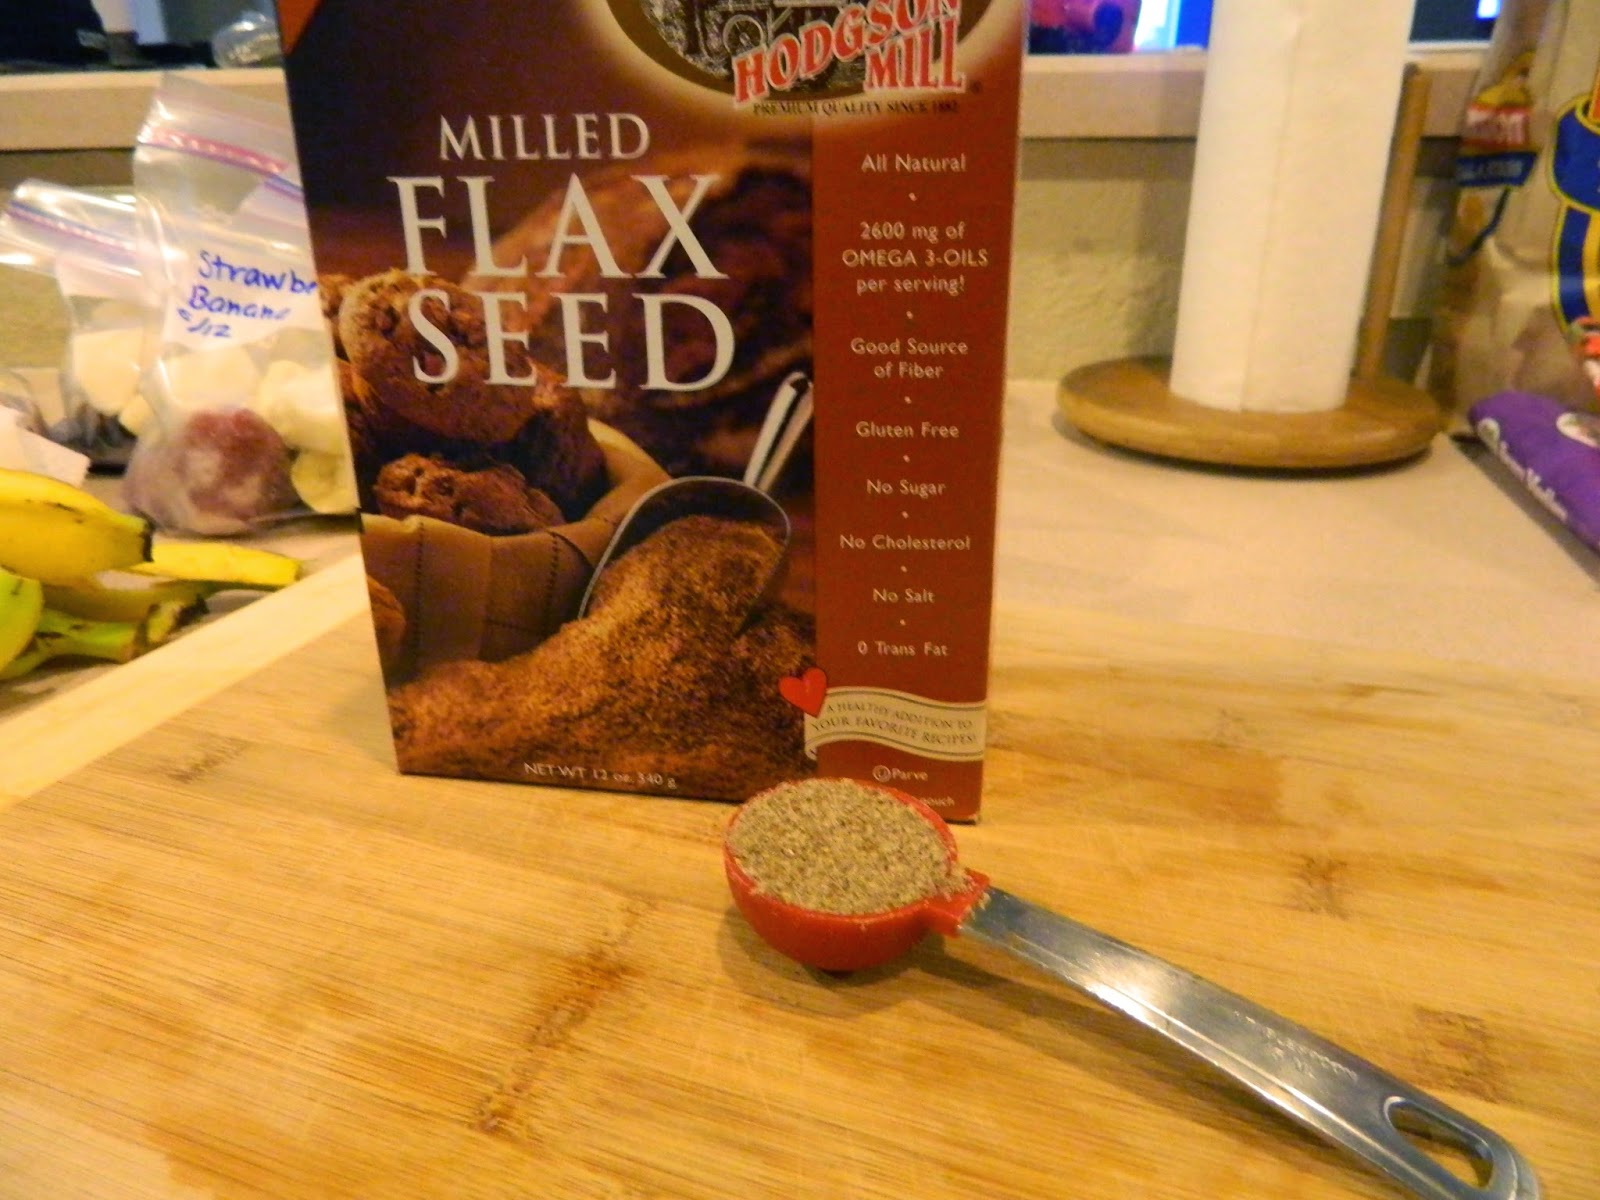
For ingredients that go in many recipes (like onions or peppers) I cut them all at once. Then I use something (like my awesome measuring scoop here) to measure out what goes into each bag.

I'm really not exact with my measurements. Here you can see 2 "cups" of mushrooms. I actually just cup up the rest of the mushrooms I had, divided it in two, and added it to the two remaining stroganoff bags.

Once all of the ingredients are in the bag, seal it up and give it a good shake. This will make sure everything is nice and mixed and is getting a good marinade.

Here is a look at the back of my freezer. As I finish a meal, I fold it up and throw it in the freezer. Speaking of folding bags, I try to make sure they freeze in a position that will fit in my crock-pot. If you have a large, family-sized crock-pot I imagine this isn't a worry for you, but I just have the basic small version since it is just Mike and me.

There you go. 15 (or 16) meals worth of food, 2 hours, and around $75 bucks. Keep an eye out for my next round of crock-pot freezer meals!


Monday, May 12, 2014

Make Ahead! Frozen Smoothie Packs

I love smoothies in morning... they're so refreshing and filling! I like to drink them on the back porch while I read a book, but my husband likes them because he can whip one up quickly before he heads to work. Unfortunately, I don't always have fresh fruit and yogurt on hand, so these make ahead packs are perfect.
For these packs we are going to use frozen fruit, so there are plenty of varieties that you can mix up.


Ingredients:
  • Frozen Fruit (I used Mixed Berry and Strawberry)
  • Bananas (1 small per pack or half a large per pack)
  • Yogurt (Greek or regular)
  • Flax Seed (Optional)
  • Baby Spinach (Optional)
  • 1 cup of Juice or Milk (This will not be frozen, but added when you make the smoothie)
 The first thing we need to do is freeze the yogurt. I use Greek yogurt because there are always some leftover cubes and I can utilize them in other recipes, but feel free to use any flavor/type that would go well with your fruit. Spoon the yogurt into ice cube trays and throw them in the freezer. It takes a couple of hours for them to really set up, so I normally do this step early in the morning. When you can pop them out from the back of the tray, you know they are ready.

For each pack we are going to use about 1 cup of frozen fruit, 1 small banana, and 2-3 frozen yogurt cubes. I put bananas in all of my smoothie packs. Not only are they my favorite fruit, but they make the smoothies extra creamy and delicious. I've found that the bags of fruit from Sprouts yield about 2.5 packs, so buy accordingly.

Throw all of these ingredients into a freezer storage bag. I like to label them with the type of smoothie and date (But make sure you write on the bag before you put all of your gubs in it).

At this point you could be finished, but I always add flax seed or spinach if I have them on hand. They beef up the smoothie and add some great nutritional value. Today I only had flax seed in my pantry, so 1 Tbs went into each bag.

When the time comes to make the smoothie, throw the contents of one bag into the blender and add 1 cup of juice. I love apple juice or coconut water, but again these are so versatile you can use anything.

And there we go! Once the yogurt is frozen, the total prep time is around a minute per pack. Get creative with this one. Pineapple and Mango with coconut water is great for a hot summer morning!